How to Install a Widespread Faucet
Jan 10,2022 | CASAINC
Learn how to install a widespread faucet with relative ease. Widespread faucets feature separate hot and cold handles that are independent from the spout and can be mounted on the countertop or on sinks. It can be mounted on sinks with three holes that fit 8 inches to 16 inches from one side to the other.
They are available in a wide range of styles and finishes. You may also want to consider choosing a WaterSense-certified faucet to reduce water usage and save on your water bill.They are available in a wide range of styles and finishes. You may also want to consider choosing a WaterSense-certified faucet to reduce water usage and save on your water bill.
1.Turn Off the Water

- The first step on how to install a widespread faucet is to remove all items from under the sink.
- Place a bucket, pan or rags under the work area. Use heavy towels to support your body if you are reaching into the sink area and under or through the vanity.
- Turn off the hot and cold water supply lines at the shut-off valves beneath the sink.
- If there are no shut-off valves, turn off the main water supply. This is also a good time to install stop valves as part of this project so you can turn off the water easily in the future.
- Turn the faucet on to release the pressure in the water lines.
2.Remove the Old Faucet

- Wear safety glasses to protect your eyes from falling debris as you work upside down under the sink.
- Remove the old supply lines and the mounting nuts to remove the faucet.
- Apply a penetrating lubricant if the lines or nuts are corroded or in a hard-to-reach position. Do not use strong force to remove them be gentle yet persistent.
- Lift the faucet fixture from the top of the sink and use a putty knife can remove all of the old sealant from the top.
- Clean the sink area with a suitable cleaner.
3.Seal the Spout Base

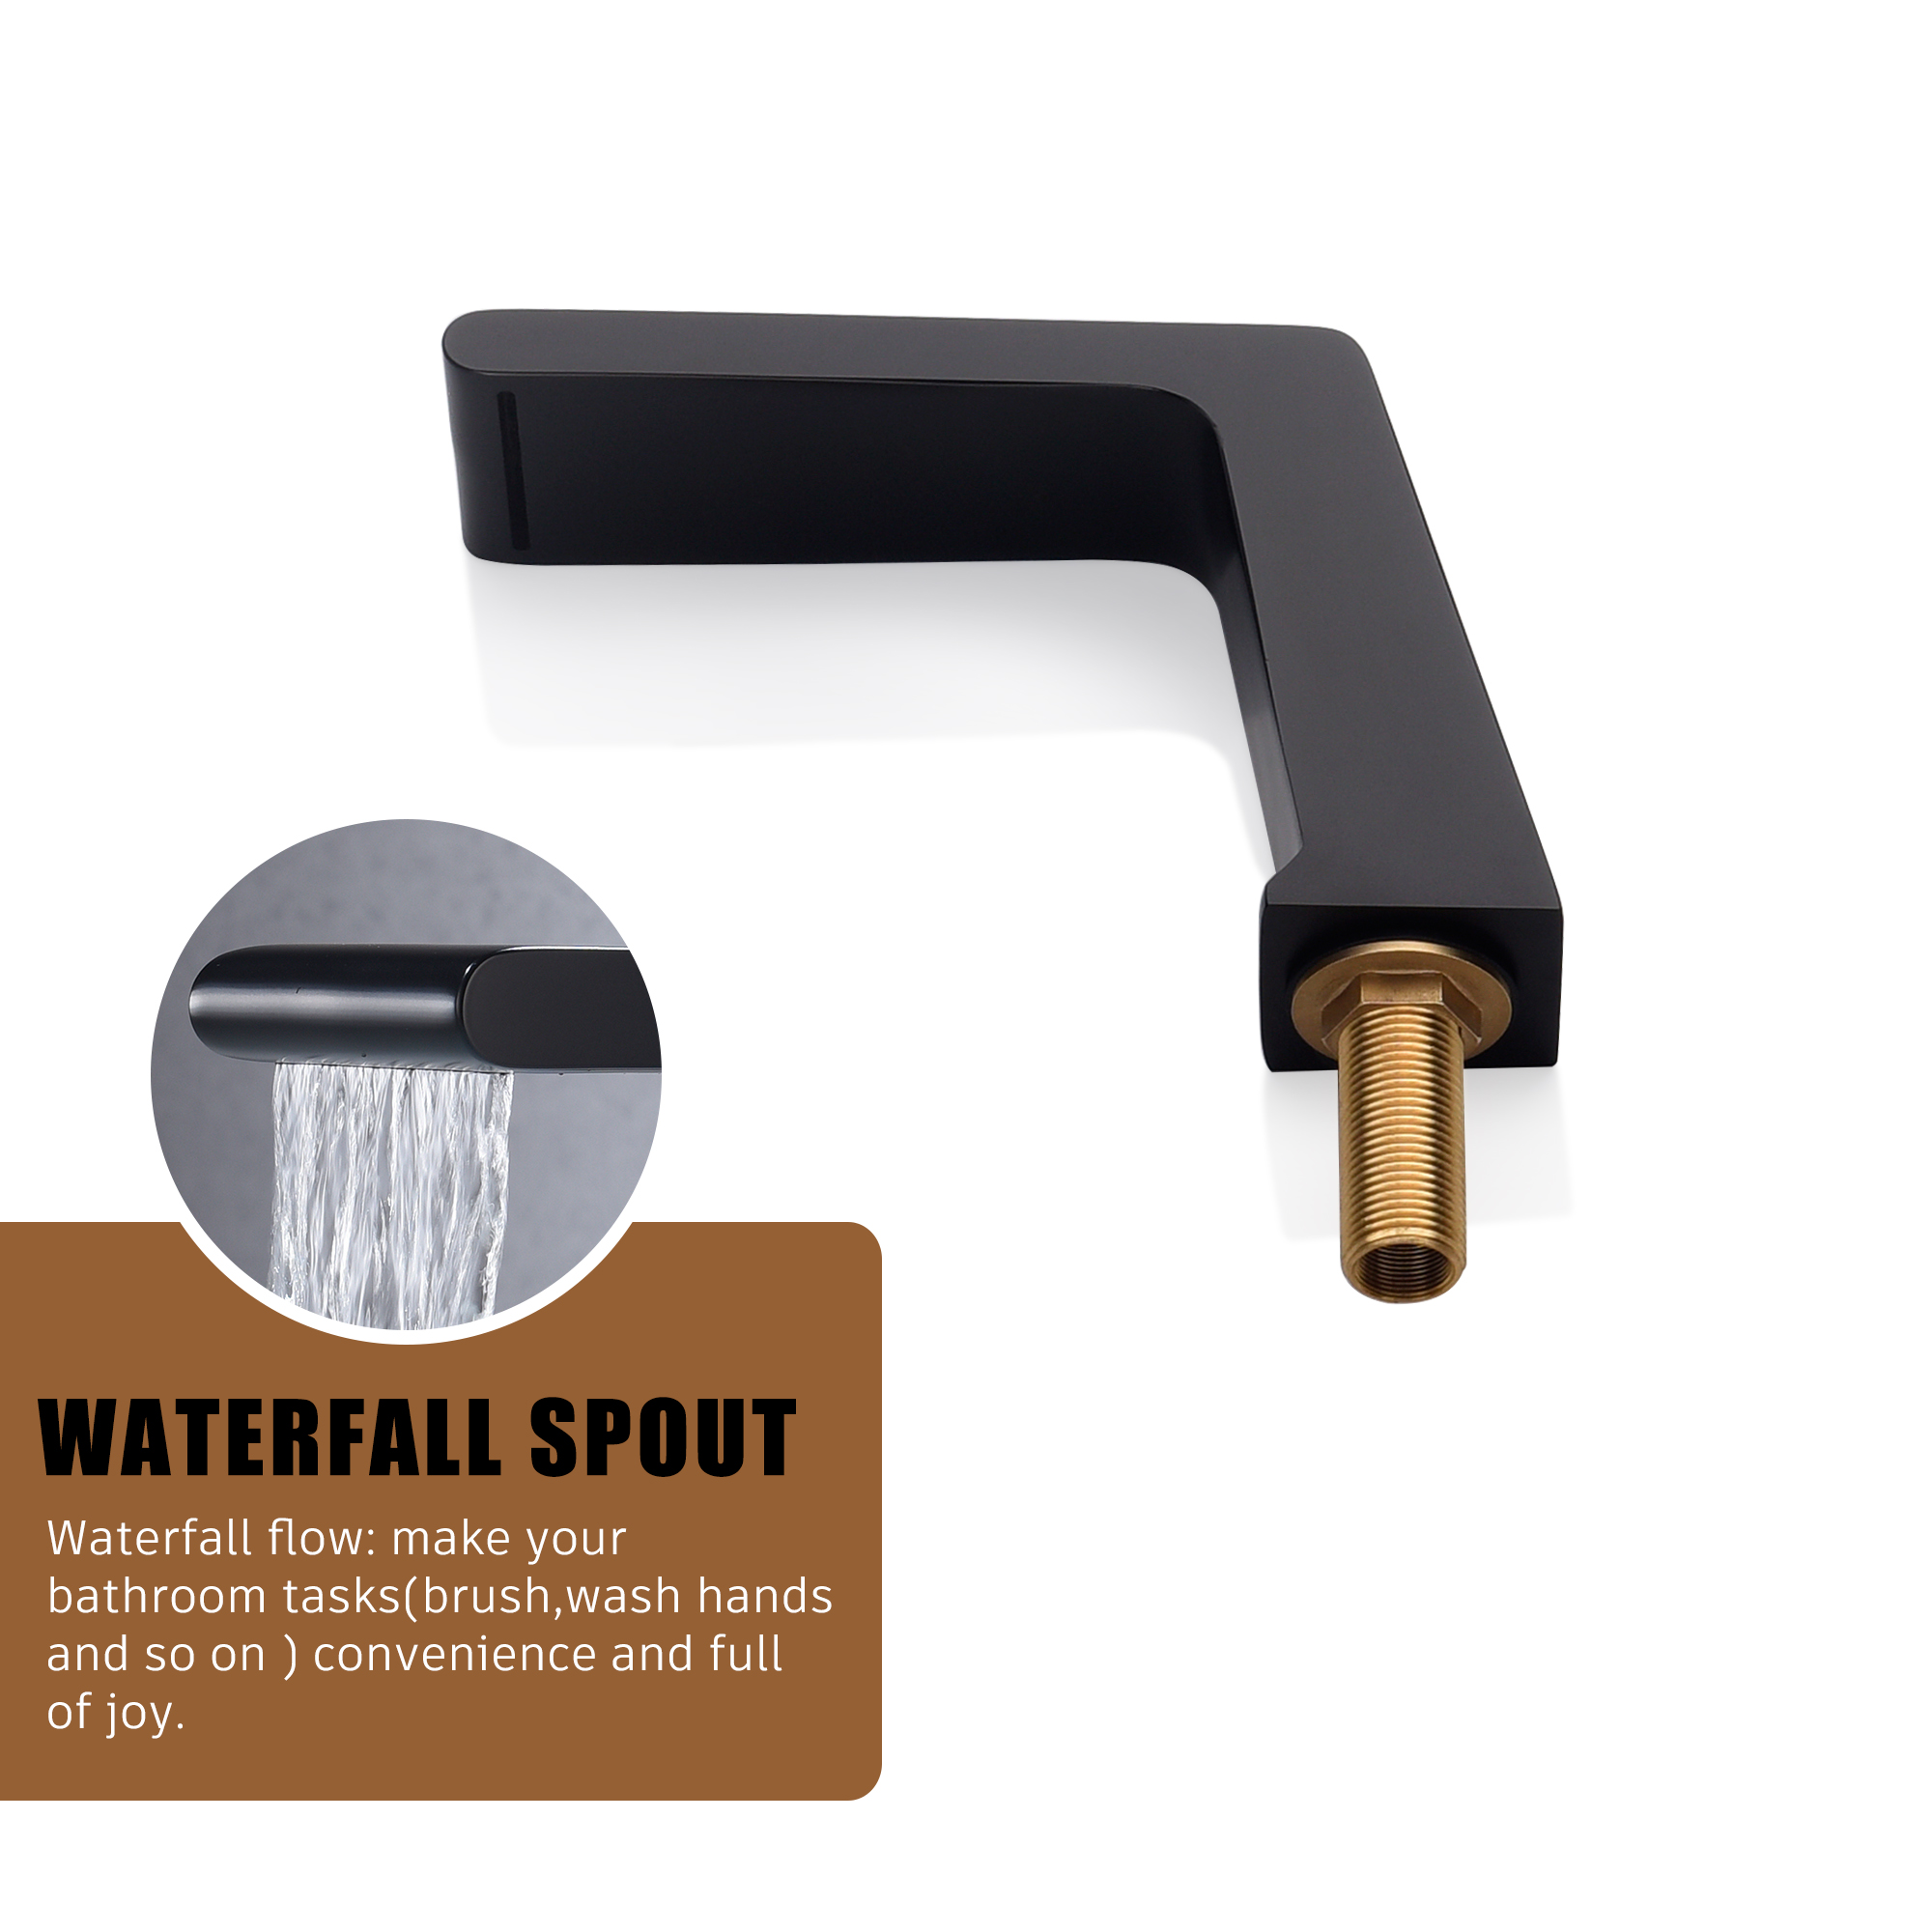
Form plumber's putty into a rope and place it on the base of the spout. Press the putty against the base. Set the spout into place.

Tighten the nut just enough to hold it in place. Do not over-tighten the nut because you will need to first center the spout on the sink.
Center the tee so the outlets are approximately parallel to the back wall and line up with the faucets on either side.
At this point, you've almost completely learned how to install a 3 hole bathroom faucet. Once the spout is centered, tighten the spout from beneath the sink using a basin wrench.

Slide the washer over the threads from beneath the sink. Tighten the valve nut until snug.
- Apply pipe compound or thread seal tape to the threads of the valve line.
- Connect to the faucet valve, and hand-tighten.
- Apply pipe compound or thread seal tape to the other end of the valve line and hand-tighten onto the spout tee.
9.Finish Assembly & Tighten Connections
- Apply pipe compound or thread seal tape to the threads of the water supply tailpieces.
- Connect the hot and cold water supplies to the hot and cold supply valves.
- When the entire assembly is complete, go back and tighten all the connections with an adjustable wrench.
- Next, connect the faucet handles to the valves. Align the handles to the off position. Apply a bead of plumbers putty to the faucet handle base, attach the handle, center it, and tighten the faucet nut below the sink with a basin wrench.
10.Connect the Water Supply Lines & Check for Leaks

- As soon as you've completed how to install a widespread faucet, turn the water back on at the shut-off valves. Turn on the bathroom sink faucet and allow both hot and cold water to run for one minute. Check for leaks.
- Install the matching pop-up drain (if supplied) with your new faucet.

-1.jpg?w=2400&h=1200)


