An old, creaky bathtub can make even a beautifully designed bathroom feel outdated. Whether you're remodeling a master bath or upgrading a guest bathroom, installing a new bathtub is one of the most impactful improvements you can make.
The good news? Installing a new bathtub doesn’t have to be intimidating. With the right preparation and a solid installation method, you can achieve a result that looks professional, feels rock-solid, and lasts for years.
In this comprehensive guide, we’ll walk you through how to install a bathtub the right way, covering everything from choosing the right tub to avoiding common installation mistakes homeowners often overlook.

Choosing the Right Tub for Your Bathroom
Popular Bathtub Materials
- Stone Resin Tubs: Known for their solid feel and excellent heat retention, stone resin tubs deliver a spa-like bathing experience. They’re durable, visually refined, and ideal for homeowners seeking a premium upgrade.
- Acrylic Bathtubs: Lightweight and versatile, acrylic tubs are easier to maneuver during installation and come in a wide range of shapes and styles. They’re a popular choice for both renovations and new builds.
- Cast Iron & Steel Bathtubs: Classic, extremely durable, and heavy, cast iron tubs offer a timeless look and unmatched longevity. Proper floor support and a mortar bed are essential for installation.
- Fiberglass Bathtubs: A budget-friendly option that’s lightweight and easy to install. Reinforcing the base properly helps improve stability and lifespan.
- Whirlpool Tubs: Featuring soothing hydrotherapy jets and customizable settings for a luxurious and rejuvenating bath.
Bathtub Styles to Consider
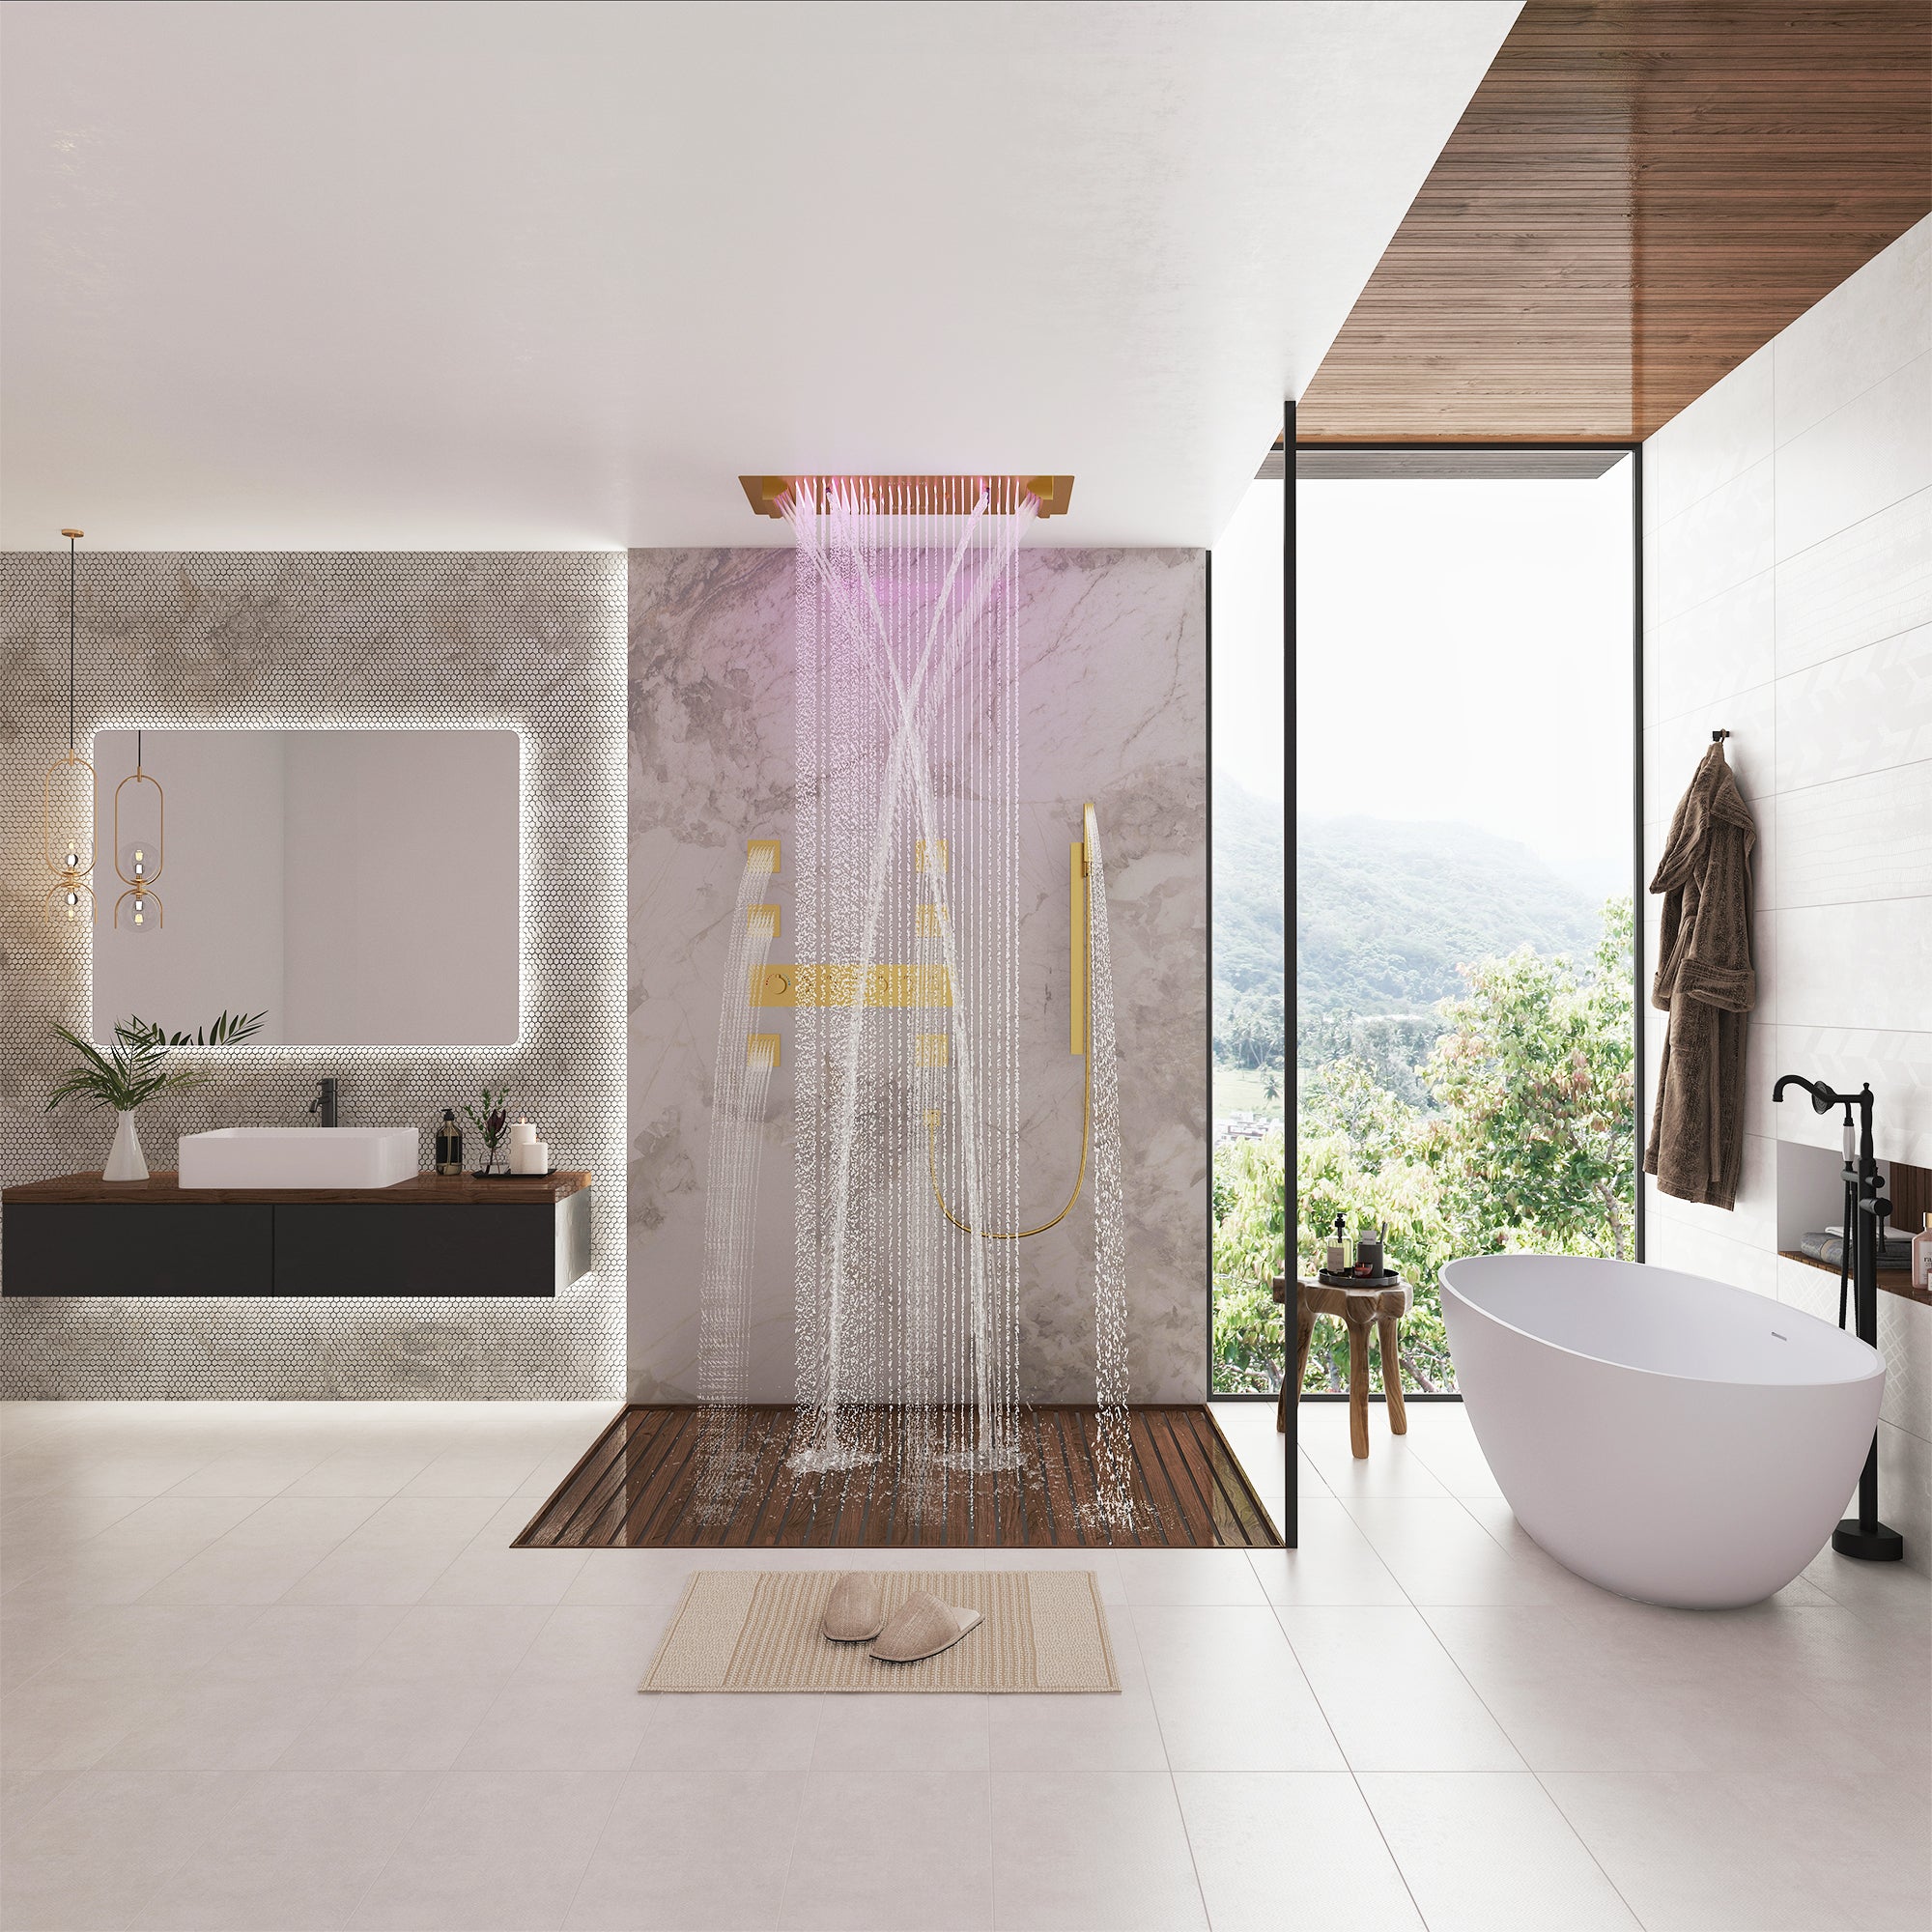
- Freestanding Tubs: A favorite for primary bathrooms and luxury renovations, freestanding tubs create a striking focal point and offer flexible placement options.
- Soaking Tubs: Designed for deeper water depth, soaking tubs are perfect for homeowners looking to create a calming, spa-inspired retreat.
- Alcove Tubs: Installed between three walls, alcove tubs are space-efficient and ideal for bathrooms where every inch counts.
- Walk-in Tub: Featuring a watertight door, walk-in tubs are designed for accessibility, safety, and comfort.
Size & Measurement Tips
- Measure your bathroom carefully, including wall-to-wall space
- Confirm doorway and hallway clearance before delivery
- Verify drain placement compatibility
Understanding Average Bathtub Installation Costs
Bathtub installation costs in the U.S. typically range from $1,500 to $5,000, depending on the tub type, plumbing complexity, and labor requirements.
Factors that influence cost include:
- Tub material and weight
- Freestanding vs built-in installation
- Drain relocation or plumbing upgrades
- Professional labor vs DIY installation
Preparing for Bathtub Installation
Preparation is often what separates a smooth installation from costly mistakes later on.
Assess the Existing Tub
- Check for leaks, rust, or structural damage
- Inspect surrounding walls and flooring for water damage
- Shut off the water supply before removal
Gather Tools & Materials
- Pry bar and adjustable wrenches
- Utility knife and safety gloves
- Level, shims, and plumber’s putty
- Mortar (if required by tub type)
Inspect the Bathroom Infrastructure
- Confirm wall studs and subfloor are in good condition
- Repair any water damage or mold before proceeding
- Ensure drain and water supply lines are properly aligned
Dry Fit the Tub
- Dry-fitting allows you to confirm sizing, drain alignment, and clearance before permanent installation.

Step-by-Step Bathtub Installation Basics
Create a Solid Base
Most tubs—especially acrylic and freestanding models—benefit from a mortar bed for added support. This minimizes flexing and improves long-term stability.
- Spread mortar evenly where the tub base will sit
- Carefully lower the tub into place
- Use body weight to set it securely
- Check for level in all directions
Install the Drain Assembly
Follow manufacturer instructions carefully when installing the drain and overflow assembly.
- Use plumber’s putty or silicone for watertight seals
- Align components precisely before tightening
- Secure the drain cover and overflow plate
Secure the Tub
- Use shims or adjustable feet to fine-tune leveling
- Anchor the tub according to manufacturer guidelines
- Confirm the tub does not shift or rock
Connect Water Supply Lines
- Attach water lines to the tub filler or faucet
- Tighten connections securely
- Test briefly for leaks before sealing walls
Waterproof Surrounding Areas
- Apply waterproof membrane or silicone sealant
- Install tile or tub surround following best practices
Pro Tips for a Rock-Solid Bathtub Installation
- Always dry-fit before final placement
- A mortar bed dramatically improves tub stability
- Level the tub before sealing any joints
- Test all plumbing connections before closing walls
Professional installers agree that proper base support is the single most important factor in long-term bathtub performance.
Common Bathtub Installation Mistakes to Avoid
- Skipping the mortar bed to save tim
- Failing to level the tub before sealing
- Not testing for leaks before finishing walls
- Relying solely on silicone for structural stability
Avoiding these mistakes can save thousands in future repairs.
Final Inspection & Finishing Touches
- Inspect all plumbing connections for leaks
- Confirm the tub is level and stable
- Clean debris and polish the tub surface
- Fill the tub fully and test drainage
Once everything checks out, it’s time to enjoy your new bathtub.
Frequently Asked Questions (FAQs)
1. How can I get help to install a bathtub?
- Email our dedicated support team at service@casainc.com for quick assistance. Our home improvement experts are ready to reply promptly and provide the guidance you need to ensure a successful installation.
2. What times are your support services available?
- Our support team is available during regular business hours to assist you with any inquiries related to bathtub installation. Whether you have questions about product choices, installation times, or recommendations, we're here to help you every step of the way.
3. Do you offer product recommendations for larger bathroom improvement projects?
- Absolutely! We love helping homeowners with larger bathroom renovation projects. If you're looking to revamp a larger section of your bathroom, we offer expert advice on product selection (including bathtub photo), easiest installation methods, and quick solutions. Just reach out, and we'll recommend products that suit your preferences and enhance the overall aesthetics of your space.
Installing a bathtub the right way ensures comfort, durability, and peace of mind. With thoughtful preparation and proper technique, your new bathtub can transform your bathroom into a relaxing, spa-like retreat.